 World of Warcraft Guides, Lore, Addons & News – Noob to Boss From Azeroth's Newbie to Champion – World of Warcraft Guides
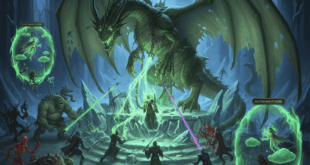
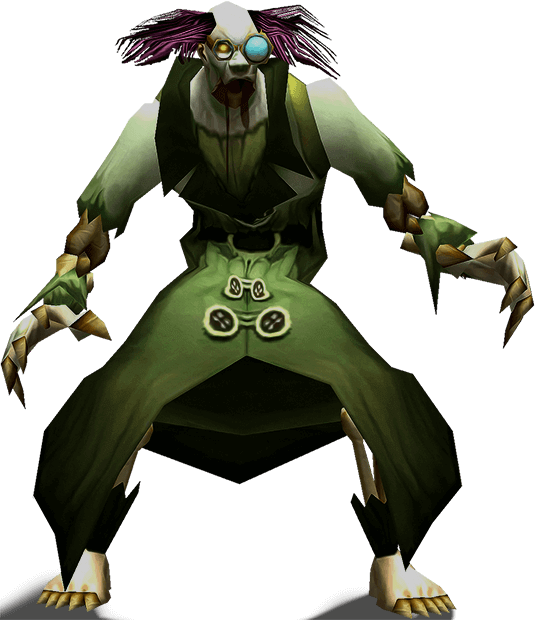
Professor Putricide stands as one of the most challenging encounters in Icecrown Citadel, serving as the final boss of the Plagueworks wing. This Professor Putricide Guide will help you understand every mechanic, optimize your raid composition, and execute the perfect strategy to defeat this notorious fight. Whether you’re progressing through Normal or Heroic difficulty, this Putricide walkthrough covers everything you need to know.
To reach Professor Putricide, you must first conquer his two abominations, Festergut and Rotface. Putricide is the final boss of the Plagueworks wing, and these two prerequisite fights are mandatory. Once Professor Putricide is defeated, the raid gains access to the next wing of the citadel, the Crimson Hall, which houses the Blood Prince Council encounter.
- Need help with the bosses leading up to him? Check out these in-depth strategies:
- Festergut Guide and Strategy
- Rotface Guide and Strategy
- also you can check our Ultimate Icecrown Citadel Guide
Professor Putricide Overview
We emphasize that this encounter is widely regarded as the second hardest fight in ICC, trailing only The Lich King himself. The three-phase structure, combined with constant add management, environmental hazards, and a brutal Phase 3 DPS race, makes this fight a true test of raid coordination and execution.
Professor Putricide Guide: Boss Mechanics Breakdown
Health Pool and Difficulty Scaling
Tank Damage Considerations
Professor Putricide delivers devastating melee attacks throughout the encounter. His standard swings hit for physical damage before armor mitigation (around on a tank) with a -second swing speed. Tanks must carefully manage defensive cooldowns in Phases 1 and 2 while ensuring they’re available for the critical Phase 3 burn.
Professor Putricide Abilities for Icecrown Citadel in Wotlk
This table summarizes every core ability, add mechanic, and phase-specific power used during the encounter.
Phase 1 Strategy: to HP
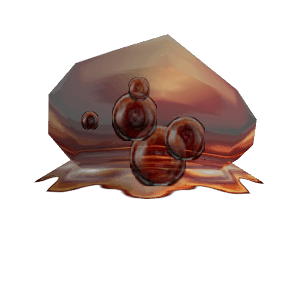
Managing Slime Puddles
Starting at 10 seconds and repeating every 30 seconds, the Professor throws two Slime Puddles at random players, creating Growing Ooze Puddles that deal nature and shadow damage every 2 seconds ( on heroic).
- Key Strategy Points:
- Ranged players must maintain loose spread positioning.
- Tanks should immediately move the boss away from puddles in melee range.
- Growing Ooze Puddles expand infinitely if not consumed.
- The Mutated Abomination is essential for puddle management.
Volatile Ooze Mechanics (Green Ooze)
The Volatile Ooze is the highest DPS priority when active. It spawns after 25 seconds from the green tank.
- Volatile Ooze Strategy:
- The ooze casts Volatile Ooze Adhesive on a random player, who becomes immobilized.
- If the ooze reaches its target, it explodes for damage.
- Damage can be split among all players within 10 yards. Melee should stack with the immobilized player.
- All DPS must prioritize the Volatile Ooze immediately.

Gas Cloud Tactics (Red Ooze)
Forty seconds after the Volatile Ooze, an Unstable Experiment spawns the Gas Cloud from the red tank.
- Gas Cloud Management:
- Fixates on a random player, applying Gaseous Bloat debuff starting at 10 stacks.
- Target must kite the Gas Cloud effectively. Pro Tip: Nitro Boosts are essential for reliable kiting.
- Never let the Gas Cloud catch its target or it casts Expunged Gas on the raid. (This is essential for the “Nausea…” achievement).
Mutated Abomination Control
The second tank immediately drinks the Mutated Transformation potion, gaining three key abilities:
- Eat Ooze: Consumes Growing Ooze Puddles while standing on them (primary responsibility).
- Regurgitated Ooze: Slows Volatile Oozes or Gas Clouds by for 20 seconds. Prioritize this on Gas Clouds.
- Mutated Slash: Deals physical damage and applies an armor reduction debuff.
Heroic-Only Mechanic: Unbound Plague
This plague appears every 60 seconds, dealing damage and increasing by each second.
- Modern Strategy: Simply let the plagued player die with Soulstone or Rebirth available. This is far more efficient than complex plague-passing rotations, as the resulting Plague Sickness debuff deals overwhelming damage if a player receives the plague again later. Sacrificing a player ensures the raid only deals with one major instance of the plague.
Phase 2 Strategy: to HP
Phase 2 maintains all Phase 1 mechanics while adding two dangerous new abilities.
Malleable Goo Mechanics
Starts 15 seconds into Phase 2 and every 20 seconds after.
- Three goo projectiles bounce in straight lines at random ranged players.
- Each hit deals damage and reduces attack and casting speed by for 15 seconds.
- Critical: All players must move aside to avoid the projectile paths.
Choking Gas Bomb Management
After 25 seconds and every 35 seconds thereafter.
- Two Choking Gas Bombs drop behind Professor Putricide, releasing -yard gas clouds.
- Gas deals shadow damage and reduces hit chance by for 15 seconds (cannot be dispelled).
- Tanks must immediately drag the boss away from bombs. DPS should step in front of the boss every 35 seconds until he’s moved.
Phase 3 Strategy: to HP – The DPS Race
Phase 3 is the ultimate challenge, featuring multiple soft-enrage mechanics.
- Immediate Actions: Use Heroism/Bloodlust immediately.
- Mutated Abomination Removal: No more puddle consumption is possible. Puddles will fill the room continuously, creating a soft-enrage.
- Positioning: Drag Professor Putricide along room walls so Growing Ooze Puddles expand into walls, maximizing the remaining safe area.
- Mutated Strength Buff: Increases the Professor’s damage and attack speed by . Melee swings hit for damage every seconds, requiring high tank cooldown usage.
Mutated Plague: The Core Phase 3 Mechanic
The defining feature of Phase 3 is Mutated Plague, applied to the current tank every 10 seconds. Deals exponential raid-wide damage every 3 seconds based on stack count.
Critical Rule: If any player with Mutated Plague dies, Professor Putricide heals over 2 million HP per stack, effectively ending the encounter.
Tank Swap Strategy for Mutated Plague
- Basic Two-Tank Strategy: Each tank takes stacks before swapping.
- Advanced DPS Taunting Strategy: Uses capable DPS classes to briefly taunt for single stacks, delaying the spike in raid damage. Warning: The DPS player must immediately drop threat after a single tick and the main tank must taunt back, as a DPS player’s health pool cannot sustain the boss’s Mutated Strength melee hits.
- Classes Suitable for DPS Taunting: Fury Warriors (Shield Wall + Shield Block), Feral Druids (Barkskin + Survival Instincts), Retribution Paladins (Divine Protection).
Phase 3 Time Limit: You have approximately to minutes to burn through the final HP before Mutated Plague stacks overwhelm the raid.
Optimal Raid Composition and Role-Specific Tips
- Tank Tips: Save major defensive cooldowns for Phase 3 Mutated Strength. Drag Professor Putricide along walls in Phase 3 to clip puddles.
- Melee DPS Tips: Volatile Ooze and Gas Cloud always take priority. Never take the Choking Gas hit reduction debuff.
- Ranged DPS Tips: Maintain spread positioning. Avoid Slime Puddles and Malleable Goo through awareness.
- Healer Tips: Phase 3 tank damage is extreme. Coordinate raid defensive cooldowns for high plague stack mitigation.
Professor Putricide Loot Table
Professor Putricide drops Primordial Saronite and Tier 10 tokens (Vanquisher’s, Protector’s, Conqueror’s Mark of Sanctification) in all difficulties, plus the following unique items (Heroic versions offer higher item levels):
10-Player Normal & Heroic Loot
This Professor Putricide guide strongly recommends Nitro Boosts for players kiting Gas Clouds. The speed boost is invaluable for reliably outrunning the add and preventing Expunged Gas from devastating the raid.
Professor Putricide Achievements
This Professor Putricide guide covers all achievements available from this encounter:
Nausea, Heartburn, Indigestion… (10/25 Player)
Requirement: Defeat Professor Putricide in Icecrown Citadel without any raid member becoming unconscious from gas clouds.
Strategy: All players must avoid being caught by Gas Clouds throughout the fight. The kiter must maintain distance at all times, and if targeted, melee DPS must successfully kite away. This requires excellent movement, Nitro Boosts, and raid awareness. Can be completed on Normal or Heroic difficulty.
Reward: 10 achievement points, contributes to Glory of the Icecrown Raider meta-achievement
All You Can Eat (10 Player)
Requirement: Defeat Professor Putricide in 10-player mode after eating 3 Ooze Explosions.
Strategy: The Mutated Abomination must consume exactly 3 Volatile Ooze explosions by standing in the blast radius when they detonate. This is challenging because:
- The abomination driver must position perfectly for each explosion
- The raid must still kill oozes quickly to prevent raid wipes
- Must be coordinated across multiple ooze spawns
- Best attempted on Normal difficulty with strong DPS
Reward: 10 achievement points, required for Glory of the Icecrown Raider (10 player)
All You Can Eat (25 Player)
Requirement: Defeat Professor Putricide in 25-player mode after eating 3 Ooze Explosions.
Strategy: Identical to 10-player version but with 25-player difficulty scaling. The Mutated Abomination must absorb 3 Volatile Ooze explosions while the raid maintains control of the encounter.
Reward: 25 achievement points, required for Glory of the Icecrown Raider (25 player)
Glory of the Icecrown Raider (10/25 Player)
Professor Putricide’s achievements contribute to the meta-achievement “Glory of the Icecrown Raider,” which rewards the Bloodbathed Frostbrood Vanquisher mount (10-player) or Icebound Frostbrood Vanquisher mount (25-player).
For full ICC achievement details, see our Icecrown Citadel achievements guide.
Consumables and Preparation
This Professor Putricide guide recommends:
- Flask of Endless Rage (melee DPS)
- Flask of the Frost Wyrm (casters)
- Flask of Stoneblood (tanks)
- Fish Feast or appropriate food buffs
- Health and Mana potions for Phase 3
- Engineering Nitro Boosts for kiting
Conclusion: Mastering this Professor Putricide Guide
Professor Putricide represents one of Icecrown Citadel’s greatest challenges, testing raid coordination, individual awareness, and DPS output. This Professor Putricide guide has covered every mechanic, strategy, optimization, achievement, and loot reward to help your raid achieve victory.
Success requires:
- Flawless Volatile Ooze and Gas Cloud priority targeting
- Clean Mutated Abomination puddle management in Phases 1-2
- Coordinated tank swap execution in Phase 3
- Strong raid DPS to beat the Phase 3 timer
- Defensive cooldown planning and usage
Master the strategies in this Professor Putricide Guide, maintain clear communication, and execute cleanly under pressure. The Plagueworks wing awaits your conquest, and Professor Putricide’s defeat opens the path to the upper reaches of Icecrown Citadel.
Remember: “Good news, everyone!” usually means something terrible is about to happen. Stay alert, prioritize adds, and burn hard in Phase 3. Good luck with your Professor Putricide progression!